Quilt coat weather is on the way. I love upcycling thrifted quilts into garments! With the crazy heat and small cold weather window in Texas, having a fast and easy project to stitch is key to get on this trend.

I made this class sample earlier this Spring, but with travelling to the UK to teach, I only found the time to share it now.

I started with a fun and graphic quilt that I purchased either at a thrift store, estate sale or antique mall. My stash is growing and I don't remember the source. This quilt was well-loved and much used. The batting in it has separated with wear and I don't like the feel of it as a functional quilt. For a quilt coat that will be layered with other clothes, it is a perfect reuse candidate.

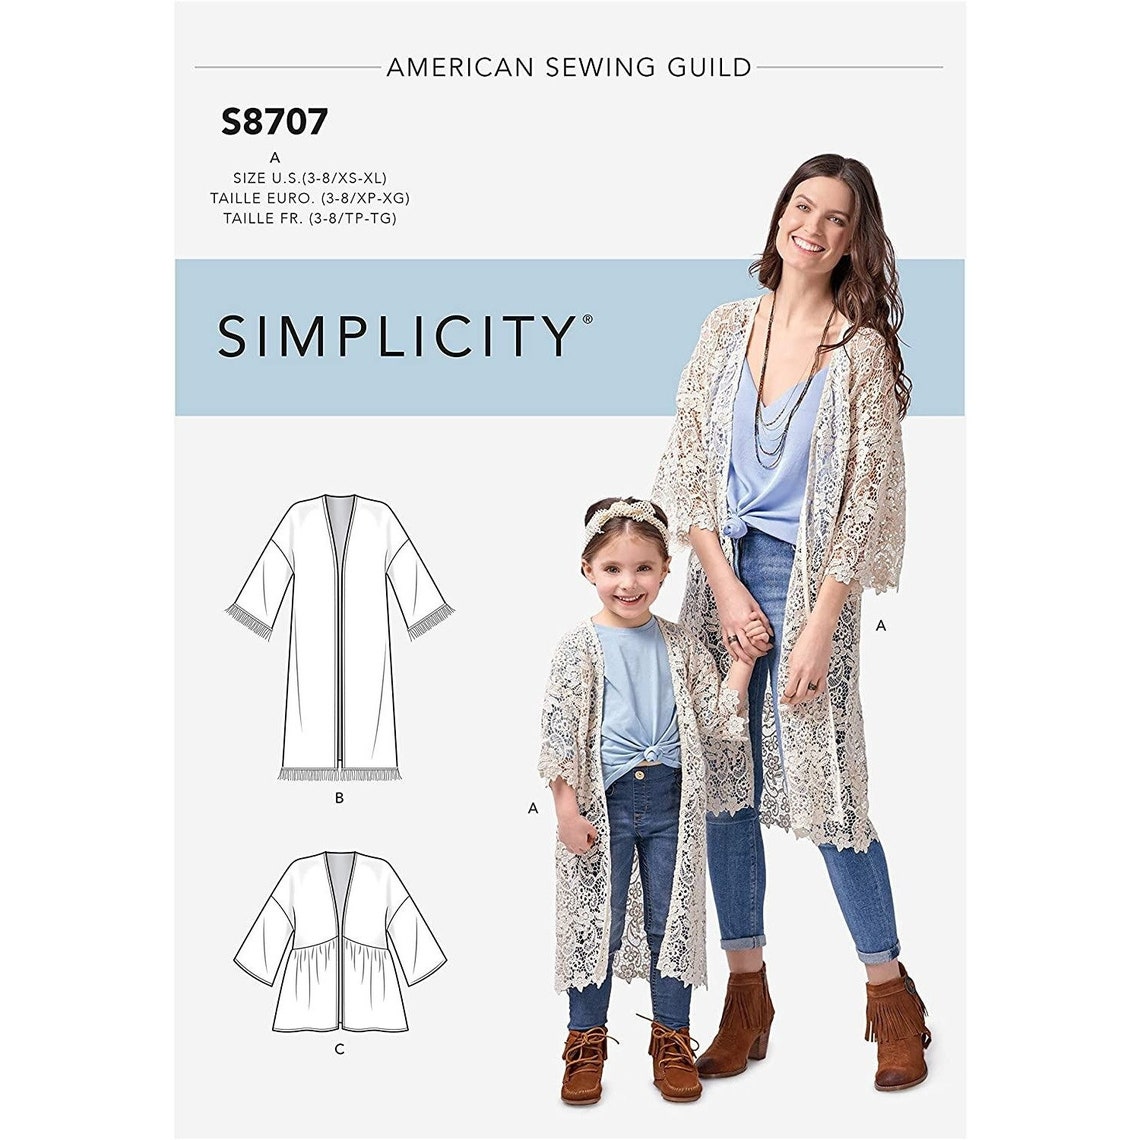
I chose Simplicity 8707 as the pattern because it has minimal seams that will result in less bulk in the finished coat. I cut the size medium and I had no issues with the pattern,

When cutting, I would have loved to cut it to maintain the original binding on the perimeter of the coat, but that was not possible because of the size of the quilt. I was able to work the placement to keep the binding for the sleeve portion. (Mid-century pattern weights)

For construction, I love my Baby Lock Accolade serger to manage the bulk of the pre-quilted layers. It sews fast while compressing and sandwiching the layers together. If I choose to bind the seams for finishing, serging makes it easier.

For this coat, I kept the serged seams exposed because they were secure and looked fine on the inside.

The pattern does not have pockets, but isn't the reason we sew is to add pockets to everything? I cut two 8"x8" squares to make front patch pockets. I lined them to finish the edges and topped them with contrast bias tape. A folded edge on the sides and bottom of the pocket would have meant sewing through 3 layers of quilted fabric. Additionally, it would have added bulk to the pocket edges.

For front interest, I decided to go bold with oversized mismatched buttons from my stash.

To close the coat I made large pointed loops to mirror the scale of the buttons.

I basted the tabs equidistant down the front of the left side of the coat parallel to the button placement.

To finish the outer edge of the coat, I used double-fold bias tape binding. When shopping my stash, I found two different pinks. Neither one was sufficient to cover the full area. I cut them into irregular lengths and reconnected them to make one continuous binding. I opened out one side of the bias tape and aligned it with right sides together and raw edges even on the edge of the coat. I secured them with pins and clips before stitching in the crease of the bias tape.

On the right side of the fabric I stitched it in place, flipped it to the wrong side encasing the edge and overlapping the ends. The underside of the binding extends past the top binding so it is caught in the stitching. At my fabulous Baby Lock Altair, I changed my J foot to the R blind hem foot. The bar on the foot holds the binding out of the way and I can adjust the needle position to fall close, but not on, the binding. A matching thread in the needle takes the pressure off. I didn't take a photo of this step, here is a recreation with orange binding.

I love my quilt coat! I love how it elevates a very basic jeans and button-up ensemble. I love even more that this discarded quilt has new life in a piece that will get use across the seasons.

In case you missed it, here are a few things that are happening in my creative world:
I will be teaching at the Making Zen Online Retreat along with 21wonderful instructors. Learn a range creative techniques from mending, hand embroidery, book making, fabric dyeing, stained glass patchwork and much more. Register for the free event here. Sign up for the VIP experience for bonus material and lifelong access to the videos.

Missouri Star Quilting is celebrating 15 years in business and have invited me to their virtual party. See the gift and lovely fabric I got here and use this link to save 15% off your order through the end of the month.

Happy Sewing,
Bianca
